
Materials
Essential Materials
- Shrinky Dinks Crystal Clear Sheets
- Acrylic Paint Pens or Sharpies
- Parchment Paper
- Toothpick (Optional)
Material for Jewelry:
- Earring Hooks
- Pin Back
- Jump Ring for necklace
- Ribbon for necklace
- Necklace clasp
- E6000
Tools
- Cricut (or other cutting machine)
- Cricut Regular Grip cutting mat
- Cricut fine point blade
- Design Space Cut Files
- Standard Hole Punch
- Heat Gun (Optional, if not using oven)
- Heat Safe Mat (Optional, if not using oven)
Sealing Materials:
- Krylon Workable Fixatif Spray
- Krylon Triple Thick Glaze
- Alternative Sealing Material: Mod Podge Dimensional Magic
Preparing Design Space Files
(1) Load your desired shape into Design Space and set up a Basic Cut.
(2) Duplicate your shape.
(3) Select both shapes.
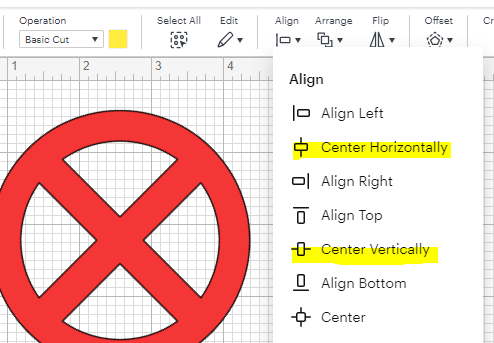
(4) On the Align menu (look on top for PC app, bottom on iPad app), select “Center Horizontally” and then “Center Vertically”. This will make both shapes line up exactly with each other.
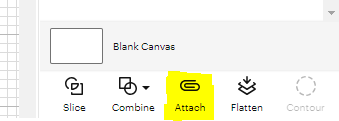
(5) With both shapes still selected, click “Attach”.
– On a PC, look on the right at the bottom of the Layers menu.
– On an iPad, look at the bottom menu, click on Actions, and Attach will be on the left.
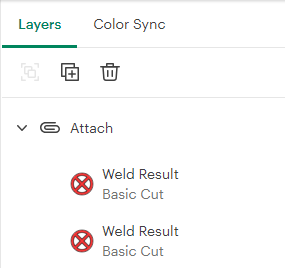
The Attach function paperclips layers together so that when you cut the design both layers will remain exactly aligned with each other. If you don’t Attach your layers, then Cricut will automatically separate and rearrange your layers on the cutting mat, cutting two separate shapes instead of cutting one shape twice.
Cutting the Plastic
Click the “Make It” button and select your mat size. Then center your image wherever you have your shrinky dink plastic placed.
Hit “Next” and select your machine. On the set material screen, select acetate. This will ensure that the blade cuts deep enough and, additionally, this setting cuts the material twice. Because we duplicated our image, the Cricut machine will cut the material four times: twice for the first image, twice for the second.
Next, adjust the pressure settings. It will be set to default, so we want to change that to “More.”
Lastly, make sure you are using the fine point blade. I know it sounds counter intuitive and you may be tempted to use the deep cut blade, but don’t! Use the fine point blade.
Once the machine is set up and the Shrinky Dink plastic is loaded onto the mat, press the Go button.
Cut Settings
(1) Load the fine point blade into your Cricut.
(2) Apply a Shrinky Dinks sheet onto a Standard Grip mat.
(3) Click “Make and select your appropriate mat size.”
– Material: Acetate
– Blade: Fine Point
– Pressure: More
(6) Start the Print.
(7) After the cut is complete, carefully remove the cut shape from the mat.
Coloring
Using an acrylic paint pen or sharpie, carefully color one side of the plastic. You may need several coats.
Keep in mind that after shrinking the plastic, the paint color will become more saturated and small imperfections will be less noticeable, so there is no need to make it perfect at this point.
You may also touch up the paint again after shrinking the plastic.
Hole Punching
If you are making earrings, use a standard hole punch to cut a hole in the plastic. After the plastic shrinks down, the hole will also shrink down and become the perfect size to insert a jump ring or string.
Shrinking the Plastic
Place the colored Shrinky Dink cutout onto a heat safe surface. You may use a toothpick to hold down the plastic to prevent it from blowing away.
With a heat gun, carefully begin heating the plastic. Hold the heat gun above the plastic and move the heat gun slowly and evenly around the plastic. The plastic will begin to shrink and curl. Don’t worry if it curls in on itself; it shouldn’t stick. Just keep moving the heat gun around and the plastic will flatten out.
Once the plastic looks fairly flat and evenly shrunk, you can slide it in between two sheets of parchment paper and lay a flat, heavy object such as a textbook on top of the Shrinky Dink while it cools.
Important Safety Note
Before you start on the next steps, be aware that E6000, Krylon Workable Fixatif Spray, and Krylon Triple Thick Glaze should be used in a well ventilated area, preferably outside.
If you don’t have a well-ventilated space or outdoor area, an alternative is to use Mod Podge Dimensional Magic.
Sealing the Shrinky Dinks
The next step is to finish the back so that the paint doesn’t chip off. The shiny side is the front side, which doesn’t need anything. The more matte, colored side is the side we seal, so that’s what we want to finish to keep the acrylic pen from flaking off.
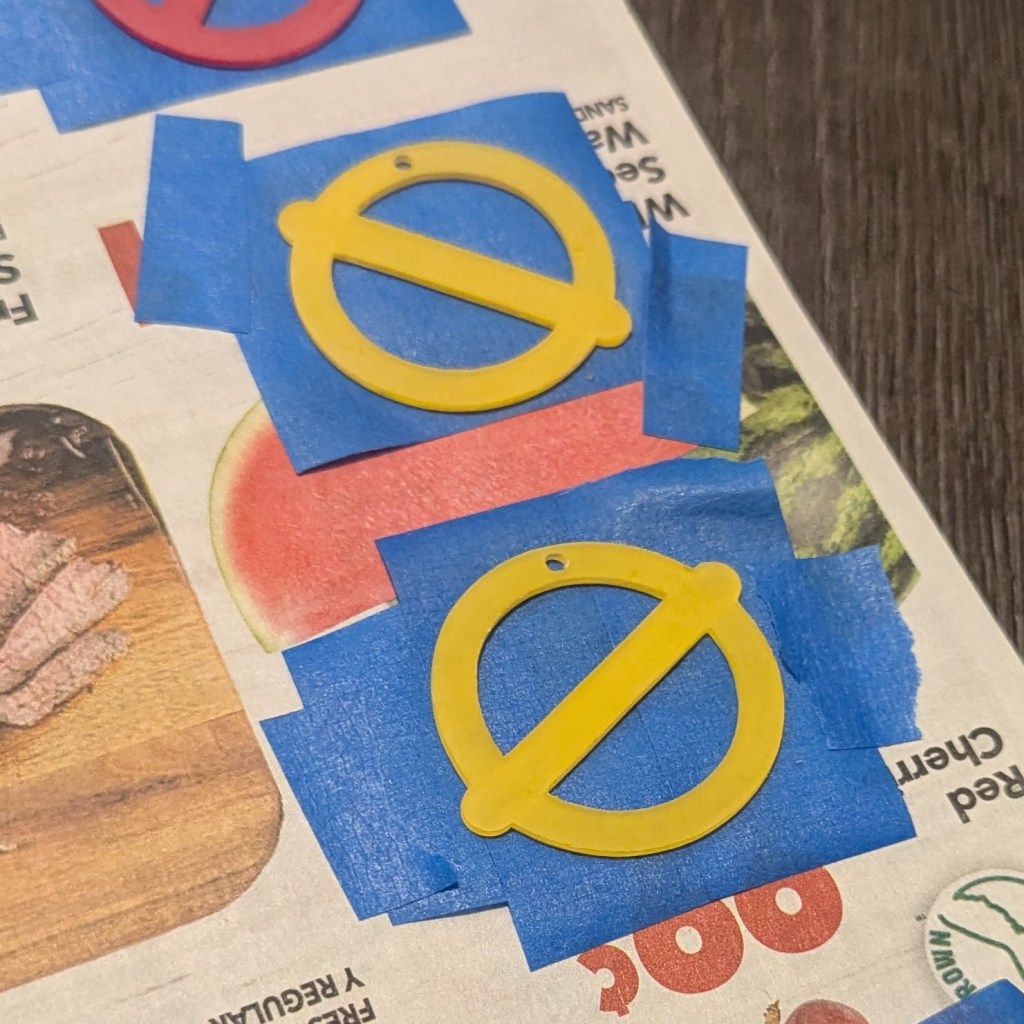
Place it paint side down, then apply painter’s tape on the FRONT(the shiny side).
NOTE: I apply painter’s tape to ensure that sealant doesn’t get on the front of the piece. If sealant accidentally gets on the front, this could cause it to stick to your painting surface and ruin the piece. After the sealant is dried I peel off the tape.
Once you have your tape applied to the shiny side, apply the fixative.
Spray one coat, wait 15 minutes, and spray again. This ensures that your gloss doesn’t eat into the paint and make it smudge or bleed. Let it dry for an hour.
Next, apply the clear glaze. Be light-handed when applying. Spray one coat, wait two or three minutes, then spray again. This will give a nice glossy coat. Let it dry for at least 24 hours before touching it.
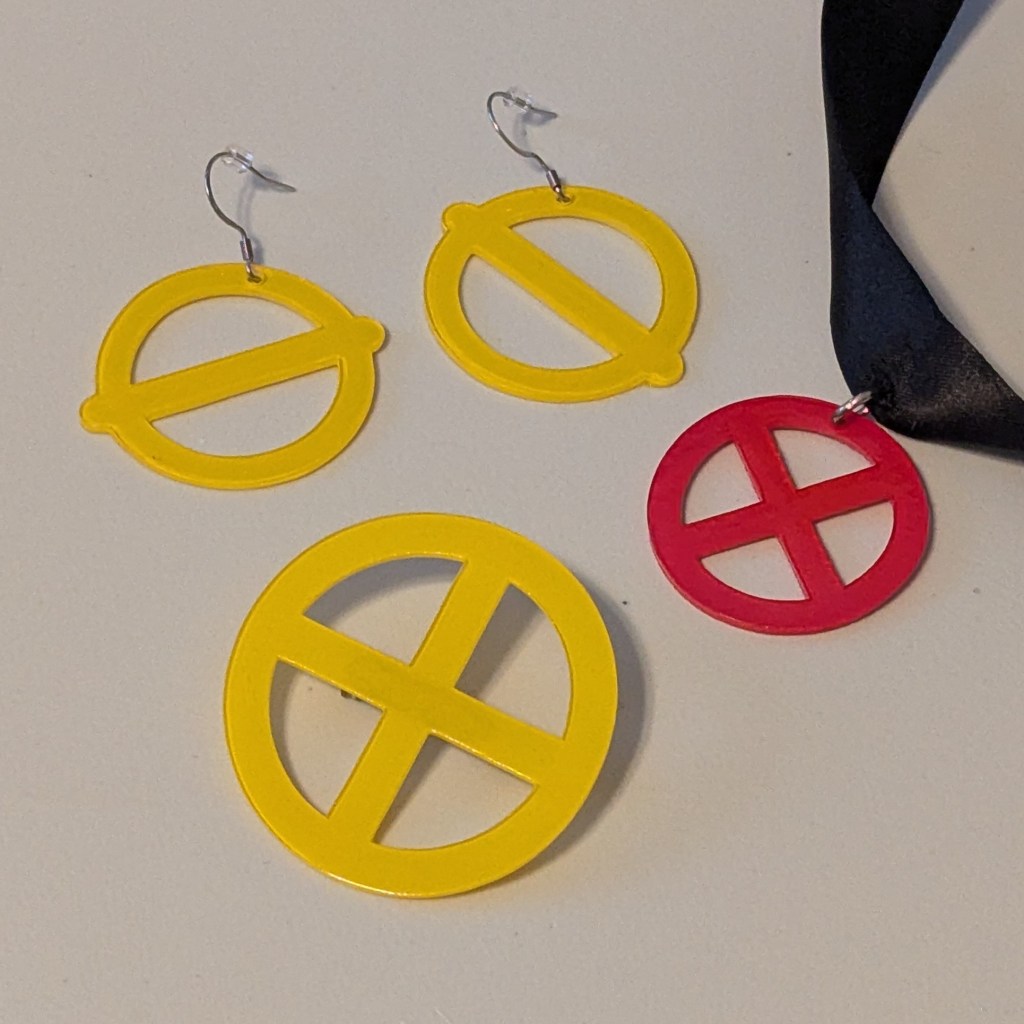
After all that, you should get a beautiful charm or pendant that you can put on a necklace, make into earrings, or do whatever you want.
If making pins, you can glue the pin backing onto your plastic with E6000.
Final Thoughts
There are so many possibilities when it comes to Shrinky Dinks, and I’m super happy that I found this method. I was lamenting the fact that I don’t have a 3D printer and wanted an alternative way to make earrings and little charms for my cosplays. The idea of using Shrinky Dinks popped into my head, and it’s fantastic, especially if you have a cutting machine. But the great thing is you don’t even need a cutting machine; I’ve done these by hand as well using scissors and a craft knife.
I’m really excited to see what else I can make for future cosplays. Any questions, comments, or thoughts about this process, please let me know. I’d love to hear from you.


Leave a comment